Photographing food is an art form that requires skill, creativity, and attention to detail. Whether you’re a professional photographer or an amateur looking to improve your skills, food photoshoots present a unique set of challenges and opportunities. In this comprehensive guide, we’ll walk you through everything you need to know to capture stunning images that will make mouths water and eyes linger.
Planning Your Food Photoshoot
Before you even pick up your camera, it’s essential to plan your food photoshoot carefully. Start by selecting a theme or concept for your shoot. Consider factors such as the type of cuisine, the seasonality of ingredients, and the overall aesthetic you want to achieve. Once you have a vision in mind, create a shot list outlining the dishes you’ll be photographing and any props or styling elements you’ll need.
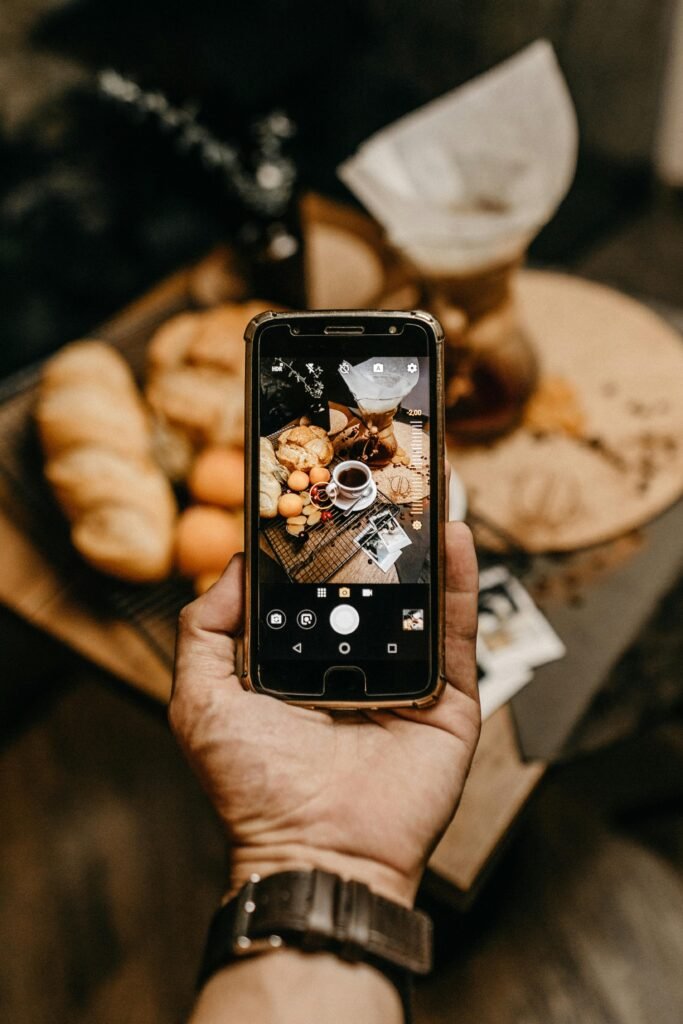
Choosing the Right Equipment
The key to a successful food photoshoot is having the right tools for the job. While you don’t necessarily need the most expensive gear, investing in quality equipment can make a significant difference in the quality of your images. A digital single-lens reflex (DSLR) camera or a mirrorless camera with a macro lens is ideal for capturing intricate details and textures. Additionally, make sure you have a sturdy tripod to keep your camera stable and a variety of lenses to achieve different perspectives.
Lighting Techniques for Food Photography
Lighting is perhaps the most critical aspect of food photography. Natural light is often the best option for achieving soft, flattering illumination, so try to schedule your shoot during daylight hours near a large window or in a well-lit outdoor space. If natural light isn’t available or practical, artificial lighting setups such as softboxes or strobes can produce excellent results. Experiment with different angles and intensities to find the perfect lighting setup for each dish.
Styling and Composition Tips
The way you arrange and style your food can have a significant impact on the overall aesthetic of your images. Start by selecting appropriate props and backgrounds that complement the colors and textures of the dishes you’re photographing. When arranging your composition, consider principles such as the rule of thirds, leading lines, and negative space to create visually appealing images that draw the viewer’s eye.
Read Also : Mastering Food Product Photography: Tips and Techniques
Creative Food Photography Ideas to Make Your Dishes Stand Out
Capturing Mouthwatering Shots
Once you’ve planned your food photoshoot, selected your equipment, and set up your lighting and styling, it’s time to start shooting. Take your time to carefully compose each shot, paying attention to details such as plating, garnishes, and focal points. Experiment with different angles, perspectives, and camera settings to capture a variety of shots from wide-angle hero images to close-up detail shots. Don’t be afraid to get creative and try new techniques to bring your vision to life.

Editing and Post-Processing
After you’ve captured your images, the final step in the food photoshoot process is editing and post-processing. Use editing software such as Adobe Lightroom or Photoshop to fine-tune your images, adjusting elements such as exposure, white balance, and contrast to achieve the desired look. Pay attention to details such as color accuracy and texture enhancement to ensure your photos look as appetizing as possible without veering into unrealistic territory.
Conclusion
Mastering the art of food photography takes time, practice, and a keen eye for detail, but with the right techniques and equipment, anyone can capture stunning images that tantalize the taste buds and delight the senses. By following the tips and guidelines outlined in this guide, you’ll be well on your way to creating mouthwatering food photos that stand out from the crowd and leave a lasting impression on your audience.


