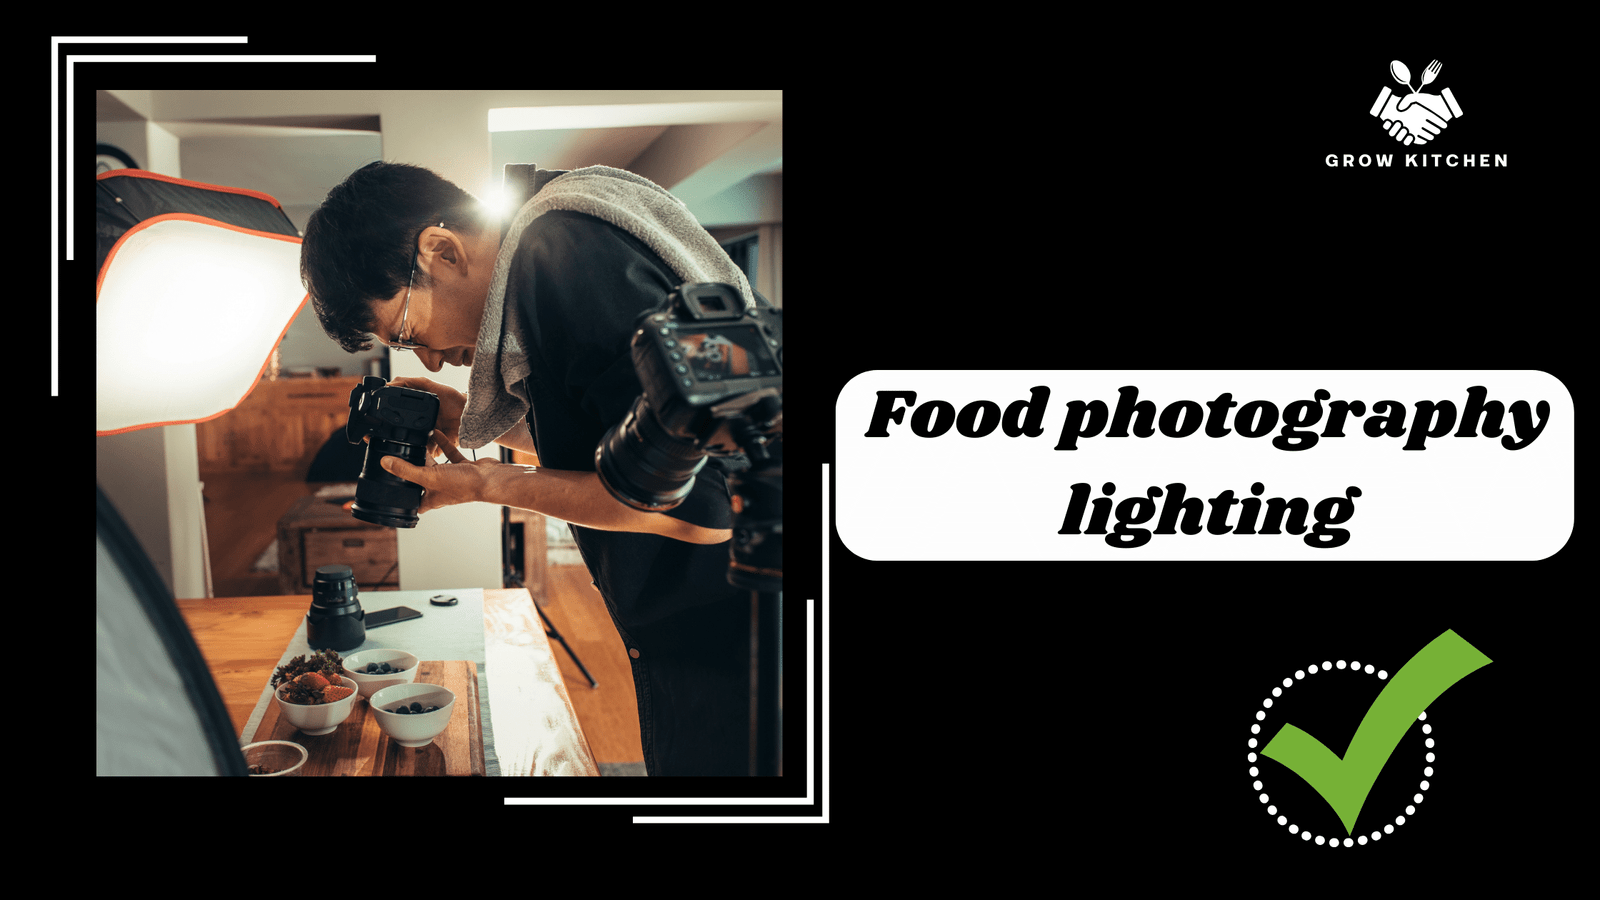
In the world of food photography, lighting is everything. It can make or break a shot, turning a mediocre dish into a mouthwatering masterpiece. Mastering food photography lighting techniques is essential for creating stunning images that captivate your audience. In this guide, we’ll delve into the intricacies of food photography lighting and provide you with tips and tricks to help you achieve the perfect shot every time.
Understanding the Importance of Lighting:
Lighting plays a crucial role in food photography, as it determines the mood, tone, and overall aesthetic of your images. Proper lighting can enhance the colors, textures, and details of the food, making it look more appetizing and enticing to viewers. On the other hand, poor lighting can result in dull, flat images that fail to do justice to the culinary delights being showcased.
Types of Food Photography Lighting:
There are several types of lighting setups commonly used in food photography, each with its own unique characteristics and effects. Natural light, artificial light, and a combination of both can be utilized to create stunning images that showcase the beauty of the food.
Natural Light:

Natural light is often preferred by food photographers for its soft, diffused quality and flattering effect on food. It’s best to shoot near a window or in an outdoor setting where ample natural light is available. However, it’s essential to pay attention to the direction and intensity of the light to avoid harsh shadows and overexposure.
Artificial Light:
Artificial light sources such as studio lights, strobes, and continuous lighting can also be used effectively in food photography. These lights provide more control over the lighting conditions and allow for precise adjustments to achieve the desired look. When using artificial light, it’s essential to consider factors such as color temperature, intensity, and light modifiers to create a natural-looking result.
Read Also : Best Angles for Food Photography: Tips for Perfect Shots
Food Photography Essentials: Gear, Tips, and Tricks
Tips for Achieving the Perfect Lighting:
- Experiment with different light sources and angles to find the most flattering lighting for your subject.
- Use diffusers and reflectors to soften harsh shadows and create a more even distribution of light.
- Pay attention to the color temperature of the light to ensure accurate color reproduction in your images.
- Consider the mood and style you want to convey and adjust the lighting accordingly.
- Don’t be afraid to break the rules and try unconventional lighting setups to achieve unique and creative results.
Conclusion:
Mastering food photography lighting is a journey that requires patience, practice, and experimentation. By understanding the principles of light and how it interacts with food, you can elevate your photography skills and create stunning images that capture the essence of the dishes you photograph. With the right lighting techniques and a keen eye for detail, you can consistently produce images that tantalize the taste buds and leave your audience craving for more.

